Page Text
www
RAMP
BUILDING
PART II
SMALLER RAMPS
&SUPERSTRUCTURES
In Part I of our journey into building
skateboard ramps (which was a reprint of
our original ramp building article, from Vol.
1, No. 8), we looked at the construction of
the basic, full on, 16 foot wide structure,
with full vertical walls and 10 feet of flat
bottom. This is the basic "hot" half-pipe.
ramp plan that is being used these days for
most backyard ramps built for intense
sessioning.
Now, there is no reason why any skater
who craves vert should be deprived of a
vertical wall or bank to skate. Especially
when a wooden structure is so easy to
build.
In this chapter of our manual of skate
ramp construction we will take a look at
some smaller, easier to build ramp
designs. Mini halfpipes, quarterpipes, and
basic beveled wall, bank type ramps.
Everything from the scaled down halfpipe
version, with vertical wall, coping, and
rollout decks to a simple sheet of plywood
leaned up against a wall at a 45 degree
angle.
It is not that hard to build any kind of
skate structure, really. As long as you have
made the decision and have a strong will to
skate. However, there are certain limita-
tions that apply to any skate construction,
no matter how large or small. Mostly, these
limitations involve factors that become
evident even before you hammer that first
nail or have taken saw in hand.
Before you start.
One of the basic rules in the construction
of any type of skate ramp is that the
hardest part has to be getting started. All
the pre-planning and talk about building
doesn't do a bit of good until you actually
get out there and start putting it all together.
Left: Joey Lopes (below) and Joel Chavez (top) put together
routines on Joe's mini-half pipe that compare to the sessions
on Joes' other ramps; a twelve ft. wide by ten ft. high ramp in
his backyard and a 4% ft. quarter pipe in his front yard.
36
To keep things in perspective and
to help you save time in the pre-plan-
ning stages we will discuss some of the
details that will help you come to a
conclusion about what type of ramp you
will be building. The most important factors
are: money, materials, a place to build, and
the amount of area you have to work with.
Because all of these factors have their
limitations a smaller ramp or quarter pipe is
sometimes the only answer for skate
starved boarders who are craving vertical
like sensations. Almost any variation of
most big ramp maneuvers can be pulled
off on a smaller dimension ramp. Also to
the beginning verticalist, a smaller ramp is
"going to be helpful for training purposes
and will keep you shredding until you can
move up to big time.
Money
If you're thinking to yourself right now
"Well, so much for building a ramp, I'm
penniless, think again. There are alterna-
tives for the resourceful skater with nothing
but time and a skateboard on their hands.
Nails, screws, PVC for coping, etc. will cost
bucks if you're buying it new. Ask around
for the various materials that you are going
to need. Check the tool shed for a hammer
and nails. See what's lying around in the of
wood pile. A smaller ramp is going to cost
much less even if you have to buy every-
thing.
MATERIALS
Banked Ramps
One of the determining factors in ramp
building is the amount of money you can
come up with. If you come up with zero in
the cash department your choices are
limited. Start off by thinking about what you
can do instead of what you'd like to do. A
small bank is better than nothing, right? A
piece of thick plywood is all you need
and you're in business. Whenever you get
the urge to skate a bank just drag that old
piece of plywood out and "set it up."
If you can get your hands on some
2'x4's, try expanding on the banked ramp
theme by building a frame for your piece of
plywood
Starting with a basic "banked ramp"
is a good way for the beginning
skater/carpenter to get into basic wall
riding and ramp construction at the same
time."
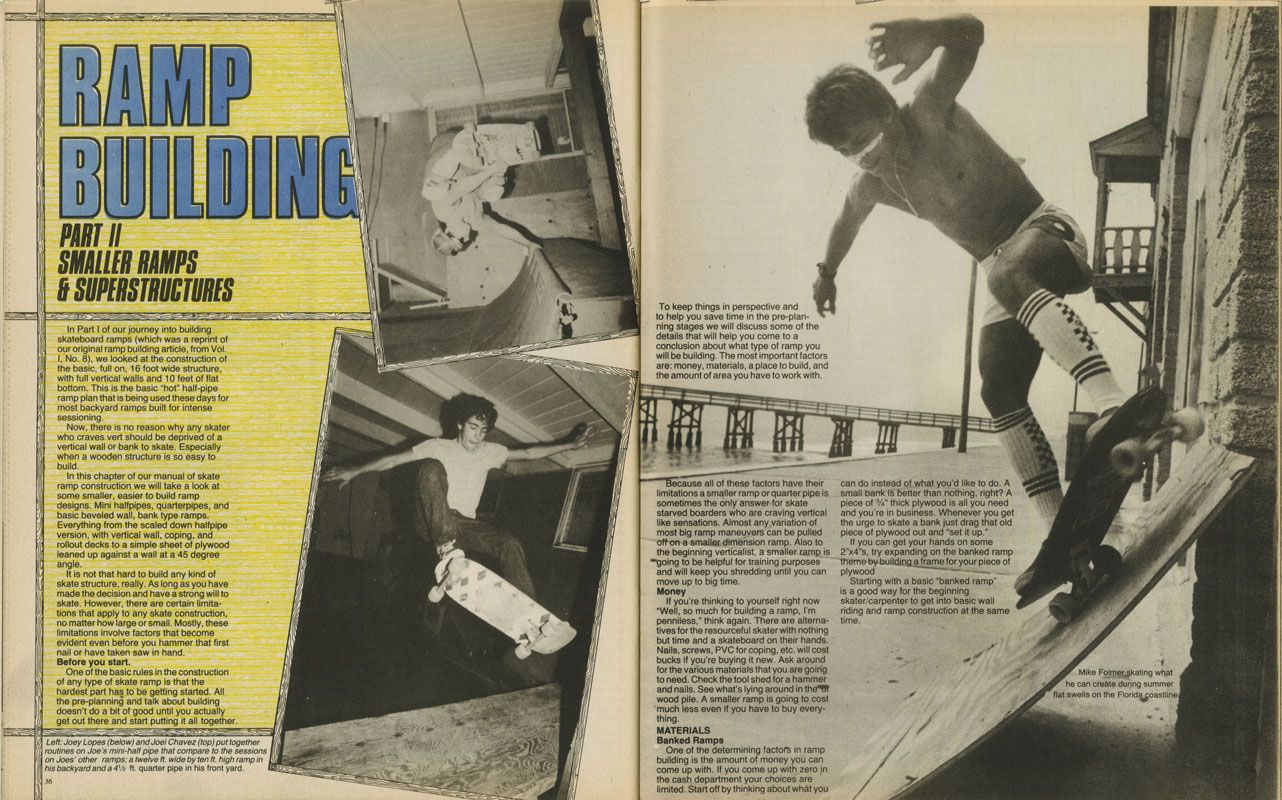
Mike Folmer skating what
he can create during summer
flat swells on the Florida coastline